
cool start remote start manual
Cool Start Remote Start Manual: A Comprehensive Guide
Embark on a journey to enhance your vehicle’s comfort and convenience! This manual provides detailed instructions for installing and utilizing a remote start system, ensuring a seamless experience.
From understanding system types to troubleshooting, we cover everything needed for a successful installation and optimal performance, maximizing your driving pleasure.
Understanding Remote Start Systems
Remote start systems are sophisticated vehicle accessories designed for pre-heating or pre-cooling your car’s interior, enhancing comfort in extreme weather conditions. These systems allow you to initiate your engine from a distance, using either a key fob or a smartphone application, eliminating the need to brave harsh temperatures immediately.
Essentially, a remote start system temporarily bypasses the vehicle’s normal starting sequence, activating the ignition, fuel pump, and starter motor. Modern systems incorporate security features to prevent unauthorized use, often requiring the original key to be present within the vehicle during operation.
The core components include the remote control, a receiver/module installed within the vehicle, and the necessary wiring to interface with the car’s existing electrical system. Understanding these components and their interactions is crucial for successful installation and operation, ensuring a reliable and convenient experience.
Benefits of a Remote Start System
Investing in a remote start system unlocks a wealth of convenience and comfort. Imagine stepping into a perfectly warmed car on a frigid winter morning, or a cool, refreshing vehicle after a scorching summer day – this is the power of remote start. Beyond comfort, these systems offer practical advantages, such as allowing your engine to run while you finish preparing for your commute.
Enhanced security is another key benefit. By remotely starting your car, you can activate interior lights and potentially deter theft; Furthermore, remote start can extend the life of your engine by allowing it to warm up properly before driving, reducing wear and tear.
Ultimately, a remote start system elevates your driving experience, providing a touch of luxury and practicality that significantly improves daily commutes and road trips alike, making every journey more enjoyable.
Types of Remote Start Systems

Remote start systems aren’t one-size-fits-all; they come in various forms to suit different vehicles and user preferences. Key fob operated systems are the most traditional, utilizing a dedicated remote to initiate the start sequence. These are generally cost-effective and reliable, offering a straightforward user experience.
Smartphone controlled systems represent a modern upgrade, allowing you to start, lock, and unlock your vehicle directly from your smartphone. This offers extended range and additional features like GPS tracking. Push-to-start systems require a slightly more complex installation, often involving a bypass module to interface with the vehicle’s existing security system.
Choosing the right system depends on your vehicle’s specifications, desired features, and budget. Understanding these distinctions is crucial for a successful installation and optimal performance.
Key Fob Operated Systems
Key fob systems are the cornerstone of remote start technology, offering a dedicated and reliable method for initiating your vehicle’s engine from a distance. These systems typically include a small, battery-powered remote that transmits a signal to the installed module within your car. The range varies depending on the model, but generally provides sufficient distance for home or office use.
Installation is relatively straightforward, making them a popular choice for many vehicle owners. They often feature basic functionalities like start, stop, and lock/unlock, providing essential remote control. Security is generally good, utilizing rolling code technology to prevent unauthorized access.
These systems represent a cost-effective solution for adding remote start convenience to your vehicle, offering a balance of simplicity, reliability, and affordability.
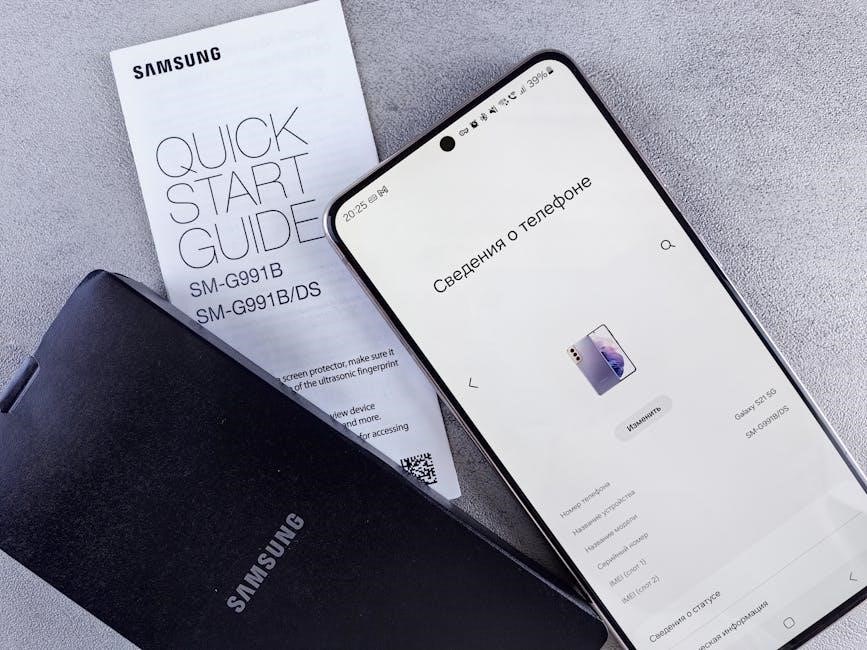
Smartphone Controlled Systems
Smartphone-controlled remote start systems represent the cutting edge of vehicle convenience, leveraging the power of your mobile device for enhanced control and functionality. These systems utilize a dedicated mobile app, communicating with your vehicle via cellular or Bluetooth connectivity. This allows for remote start, door lock/unlock, vehicle location tracking, and even climate control adjustments – all from your smartphone.
Installation is more complex than key fob systems, often requiring a compatible telematics module. Security is a key feature, with advanced encryption and authentication protocols protecting against unauthorized access.
While typically more expensive, smartphone systems offer unparalleled control and integration, transforming your phone into a comprehensive vehicle management tool. They provide a modern and feature-rich solution for the tech-savvy driver.
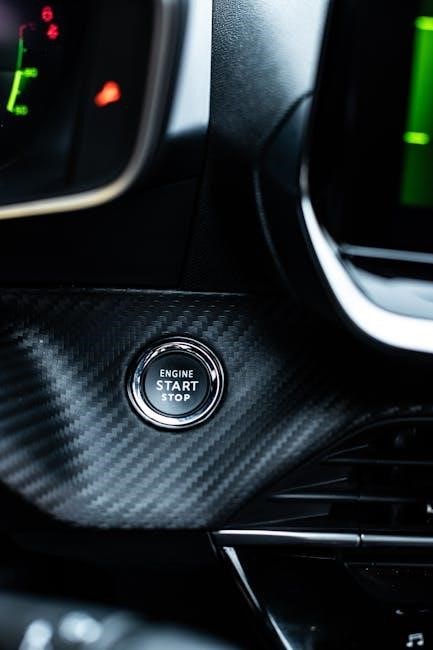
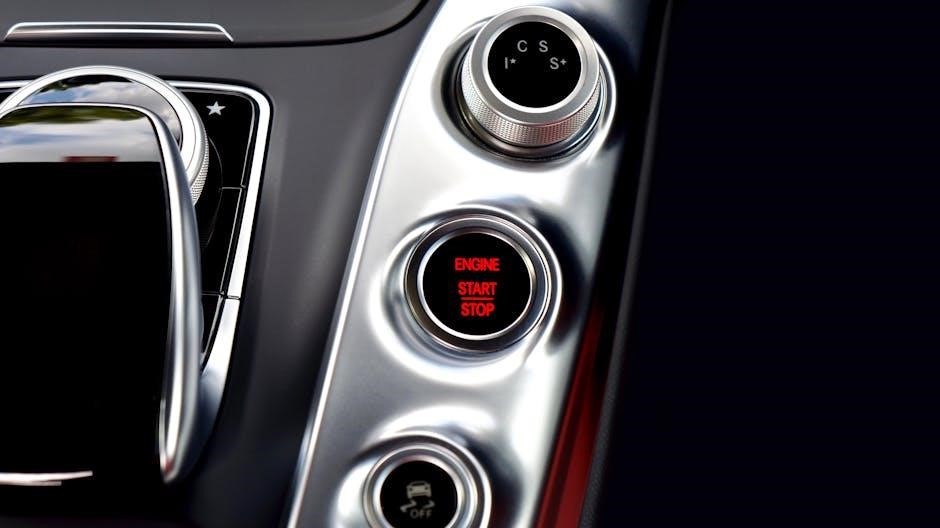
Push-to-Start Systems
Vehicles equipped with push-to-start ignition require a specialized remote start installation process due to the lack of a traditional ignition key. These systems necessitate a “bypass module” or “decryptor” to simulate the key’s function, allowing the engine to start remotely. The core of the installation involves intercepting the signal sent when the push-to-start button is pressed.
Connecting in-line with the connector behind the push-to-start button is crucial, utilizing the remote starter module to mimic the authentication process. The decryptor process, often complex, ensures the vehicle’s security systems aren’t compromised.
Careful wiring and precise configuration are essential for a successful installation. These systems offer convenience but demand a higher level of technical expertise during setup.
Pre-Installation Considerations
Before embarking on your remote start installation, careful planning is paramount. First, verify vehicle compatibility; not all vehicles can accommodate a remote start system without additional components. Thoroughly research if your specific make and model are supported by the chosen kit.
Accessing detailed wiring diagrams and the vehicle’s service manual is essential. These resources pinpoint the exact location and function of critical wires – power sources, ignition, accessory, and starter wires. Identifying these wires accurately prevents damage and ensures proper functionality.
Gather the necessary tools – wire strippers, crimpers, a multimeter, zip ties, and potentially vehicle disassembly tools. Proper preparation streamlines the installation process and minimizes frustration.
Vehicle Compatibility
Determining vehicle compatibility is the foundational step before any remote start installation. Not all vehicles are universally suited, and attempting installation on an incompatible model can lead to system malfunction or vehicle damage.
Manufacturers often provide compatibility charts listing supported makes, models, and years. These charts detail any specific requirements, such as the need for a bypass module or additional wiring harnesses. Carefully consult these resources before purchasing a kit.
Vehicles with push-to-start ignition systems or advanced security features often require more complex installation procedures and specialized modules. Ensure the chosen kit explicitly supports your vehicle’s ignition type. Incorrectly installed systems can compromise vehicle security.
Wiring Diagrams and Manuals
Accurate wiring diagrams and comprehensive manuals are indispensable for a successful remote start installation. These resources provide a roadmap for connecting the system to your vehicle’s electrical infrastructure, minimizing errors and ensuring proper functionality.
Always prioritize the wiring diagram specifically designed for your vehicle and the remote start kit you’ve purchased. Generic diagrams can be misleading and lead to incorrect connections. Pay close attention to wire colors and their corresponding functions – ignition, accessory, starter, and power sources.
The kit’s manual will detail the specific connections required, often including illustrations and step-by-step instructions. Familiarize yourself with the terminology and symbols used in the diagrams before beginning the installation process.
Tools Required for Installation
Proper tools are essential for a clean and efficient remote start installation. Having the right equipment ensures secure connections and minimizes the risk of damaging your vehicle’s electrical system.
A basic toolkit should include wire strippers, crimpers, and a multimeter. Wire strippers are crucial for exposing the conductive core of wires without damaging them, while crimpers secure connectors firmly. A multimeter is invaluable for testing voltage and continuity, verifying correct wiring.
Additional helpful tools include a panel removal tool (to avoid damaging interior trim), electrical tape for insulation, zip ties for wire management, and potentially a socket set for accessing certain components. Consider a “decrypter” tool if your vehicle has a push-to-start system, as it aids in bypassing security features.
Installation Process: A Step-by-Step Guide
Begin by disconnecting the vehicle’s negative battery terminal to prevent shorts during installation. Locate and connect the 12V constant and switched power sources – these provide continuous and ignition-triggered power to the remote start module. Carefully identify the ignition, accessory, and starter wires; referencing your vehicle’s wiring diagram is crucial here.
Connect these wires to the corresponding terminals on the remote starter module, ensuring secure crimps and proper insulation. Secure the module itself in a safe, dry location, away from moving parts and potential damage, utilizing zip ties for stability. Double-check all connections before proceeding, verifying that each wire is correctly attached.
Remember to divide multiple power wires among the vehicle’s 12V wires for optimal performance and to avoid overloading any single circuit.

Locating and Connecting Power Sources (12V Constant & Switched)
Identifying the 12V constant power source is the first step; this wire provides uninterrupted power for the remote start system’s memory and receiver. Typically, this is a wire that remains live even when the ignition is off. Next, locate the 12V switched power source, which activates only when the ignition is turned on – this powers the system during remote start operation.
Use a multimeter to confirm the voltage on each wire, ensuring accurate identification. Connect the remote starter module’s corresponding wires to these power sources, using proper crimping tools and connectors for a secure connection. Insulate all connections thoroughly to prevent shorts and ensure reliable operation.
Remember to consult your vehicle’s wiring diagram for precise wire locations and colors, as they can vary significantly between models.
Identifying Ignition, Accessory, and Starter Wires
Accurately identifying the ignition, accessory, and starter wires is crucial for a successful remote start installation. The ignition wire provides power to the ignition system when the key is turned, while the accessory wire powers features like the radio and climate control. The starter wire, when energized, engages the starter motor to crank the engine.
Utilize a wiring diagram specific to your vehicle to pinpoint these wires. A multimeter is invaluable for confirming wire functionality – test for voltage when the key is in each position (off, accessory, ignition, start). Carefully strip the insulation from each wire and prepare it for connection to the remote start module.
Double-check your connections before proceeding, as incorrect wiring can damage the vehicle’s electrical system.
Connecting the Remote Starter Module
With the power, ignition, accessory, and starter wires identified, you can now connect them to the remote starter module. Refer to the module’s wiring diagram for specific connection points – these vary between manufacturers and models. Ensure all connections are secure and properly insulated to prevent shorts or interference.
Use butt connectors or solder and heat shrink tubing for reliable connections. Carefully route the wires away from moving parts and heat sources. Secure the module itself in a safe, dry location within the vehicle, using zip ties or mounting brackets.
Double-check all wiring against the diagrams before proceeding to the testing phase. Proper module connection is fundamental for the system’s functionality and longevity.
Specific Wiring for Push-to-Start Systems

Vehicles equipped with push-to-start ignition require a slightly different wiring approach. The primary challenge lies in replicating the push-button signal for remote activation. This often involves connecting an in-line harness behind the factory push-to-start button, as indicated by some kits.
A “decryptor” process may be necessary to communicate with the vehicle’s immobilizer system. This involves specific wiring and potentially programming to bypass the security features during remote start. Consult the remote start kit’s manual for detailed instructions on the decryptor process and required connections.

Carefully follow the wiring diagram to ensure proper integration with the vehicle’s existing system. Incorrect wiring can disable the vehicle or compromise its security features.
Bypassing the Push-to-Start Button
Effectively “bypassing” the push-to-start button doesn’t mean eliminating it; it means electronically simulating a button press for remote activation. This is achieved by intercepting the signal sent when the button is pressed and replicating it via the remote start module. Connecting in-line with the connector behind the button is a common method, allowing the remote start system to trigger the ignition sequence.
The remote start module essentially acts as an intermediary, sending the necessary signals to the vehicle’s computer to initiate the start-up process. Ensure a secure and reliable connection to avoid intermittent issues or system failures. Properly insulated connectors and wiring are crucial for preventing shorts and maintaining system integrity.
Always refer to the specific wiring diagram provided with your remote start kit, as configurations can vary between vehicle makes and models.
Decryptor Process and Wiring
Modern vehicles with advanced security systems often require a “decryptor” module to successfully integrate a remote start. This module facilitates communication with the vehicle’s immobilizer, effectively “unlocking” the system for remote operation. The decryptor process involves identifying and connecting specific wires to bypass the factory security protocols.
Typically, this involves tapping into the CAN-bus network, a communication pathway within the vehicle. The decryptor module translates the remote start signal into a format the vehicle’s computer recognizes, allowing it to initiate the start sequence. Careful wiring is paramount; incorrect connections can disable the vehicle or trigger security alarms.
Utilize the provided wiring diagrams meticulously and double-check all connections before powering up the system. The decryptor is often used to complete the process, ensuring seamless integration and reliable remote starting functionality.
Post-Installation Testing and Troubleshooting
Following installation, rigorous testing is crucial to confirm proper functionality. Begin by ensuring all wire connections are secure and free from shorts – loose wires are a common source of issues. Activate the remote start using the fob or smartphone app, observing the vehicle’s response. Verify the engine starts smoothly and remains running without interruption.
If the system fails to start, systematically troubleshoot potential problems. Check the remote battery, module power connections, and wiring integrity. Common issues include incorrect wiring, blown fuses, or a faulty decryptor module. Consult the wiring diagrams and manual for specific troubleshooting steps.
Pay close attention to any warning lights or error messages displayed on the vehicle’s dashboard. Addressing these promptly will prevent further complications and ensure a reliable remote start experience.
Securing Wire Connections
Robust and reliable wire connections are paramount for a functioning and safe remote start system. After making all connections, meticulously inspect each splice and terminal. Utilize high-quality zip ties or electrical tape to bundle and secure wires, preventing chafing against metal components or moving parts within the vehicle.
Employ wire loom tubing to further protect exposed wiring, shielding it from heat, moisture, and physical damage. Ensure wires are routed away from ignition sources and moving mechanical parts like the steering column or pedals.
Properly securing the remote starter module itself is equally important. Choose a location that is dry, accessible for future maintenance, and protected from vibrations. Use appropriate mounting hardware to firmly attach the module, preventing it from shifting during vehicle operation.
Testing the Remote Start Functionality

Following installation, a thorough test of the remote start system is crucial to verify correct operation. Begin by ensuring the vehicle is in Park (or Neutral for manual transmissions) and the parking brake is engaged. Press the remote start button on your key fob or smartphone app. Listen for the engine to crank and start smoothly.
Observe the dashboard indicators to confirm all systems are functioning as expected – lights, radio, and climate control should activate. Test the system multiple times, varying the distance from the vehicle, to ensure consistent performance.
Verify the system disengages properly when the brake pedal is pressed or the key is inserted into the ignition. If any issues arise, immediately disconnect the power and review the wiring diagram for potential errors.
Troubleshooting Common Issues
If your remote start system isn’t functioning correctly, systematic troubleshooting is essential. A common issue is a no-start condition; first, double-check all wire connections, ensuring they are secure and free from corrosion. Verify the vehicle’s security system isn’t interfering with the remote start.
If the engine cranks but doesn’t start, investigate potential fuel or ignition problems. A flashing remote start indicator often signals a communication error – try re-pairing the remote fob. For push-to-start systems, confirm the bypass module is correctly wired and functioning.
If the system operates intermittently, suspect a weak battery or a faulty relay. Consult the system’s manual for specific error codes and troubleshooting steps. Remember safety first – disconnect the battery before performing any electrical work.
Safety Precautions During Installation
Prioritizing safety is paramount during remote start installation. Always disconnect the vehicle’s battery negative terminal before commencing any wiring work to prevent accidental shorts and electrical shock. Work in a well-lit and ventilated area, free from flammable materials.
Exercise extreme caution when accessing and manipulating vehicle wiring, avoiding damage to existing systems. Use appropriate tools, such as wire strippers and crimpers, to ensure secure connections. Never work on the airbag system unless you are a qualified technician – improper handling can lead to accidental deployment.
Double-check all wiring connections before reconnecting the battery, verifying polarity and ensuring no exposed wires are present. If unsure about any step, consult a professional installer. Ignoring these precautions can result in vehicle damage, personal injury, or system malfunction.
Remote Start System Security Features
Modern remote start systems incorporate several security measures to protect your vehicle. Many systems require a secondary confirmation, like pressing the brake pedal or entering a PIN code, before the engine fully engages, preventing unauthorized operation. Advanced systems utilize encrypted communication between the remote and the vehicle, thwarting code-grabbing attempts.
Some systems integrate with the vehicle’s existing alarm system, triggering it if tampering is detected during remote start. Bypass modules are designed to prevent hot-wiring and maintain the factory security system’s integrity. Look for systems with a valet mode, allowing you to temporarily disable the remote start function.
Regularly update the system’s firmware (if applicable) to benefit from the latest security enhancements. Be mindful of your remote’s security – avoid leaving it in plain sight and consider using a key fob protector.
Maintaining Your Remote Start System
To ensure the longevity and reliable operation of your remote start system, regular maintenance is key. Periodically inspect all wiring connections, ensuring they remain secure and free from corrosion – especially crucial after exposure to harsh weather conditions. Check the remote’s battery and replace it promptly when low to avoid functionality issues.
Keep the remote clean and dry, avoiding exposure to extreme temperatures. If you notice any unusual behavior, such as delayed starts or unresponsive remote, consult the system’s manual for troubleshooting steps. Avoid DIY repairs beyond basic checks; professional servicing is recommended for complex issues.
Consider a yearly inspection by a qualified technician to identify and address potential problems before they escalate. Protect the system’s module from physical damage and ensure adequate ventilation around it.