sharp ac remote control guide
Sharp AC Remote Control Guide: An Overview
Sharp air conditioner remotes offer diverse functionality, from basic operation to advanced features like swing and timers. Understanding your remote enhances your cooling experience.
Understanding Your Sharp AC Remote
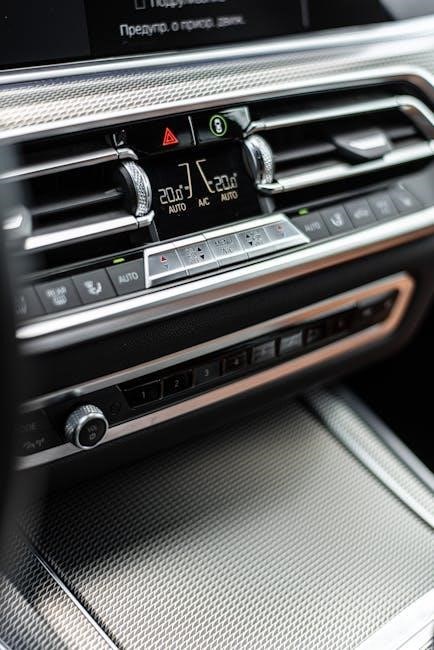
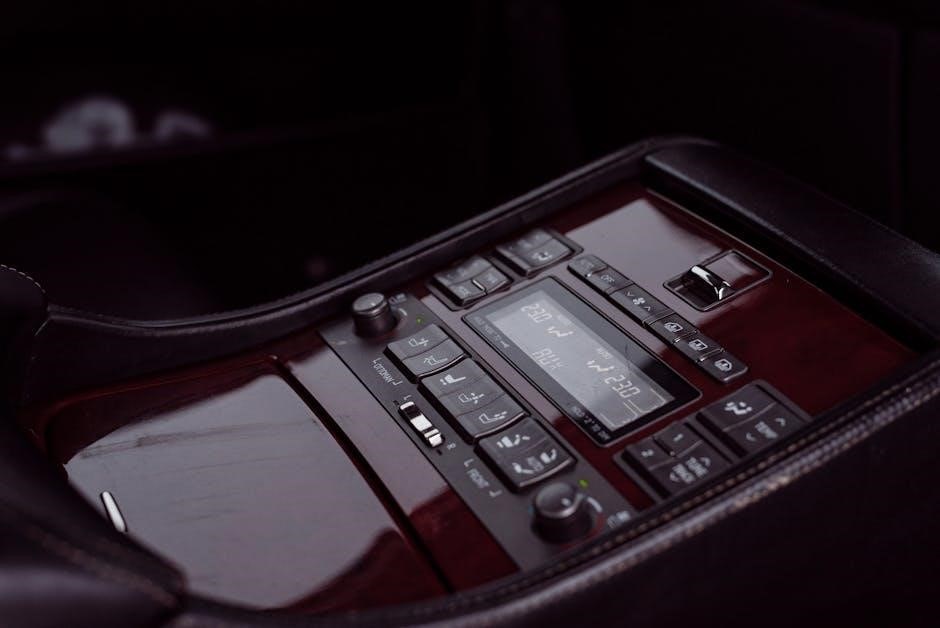
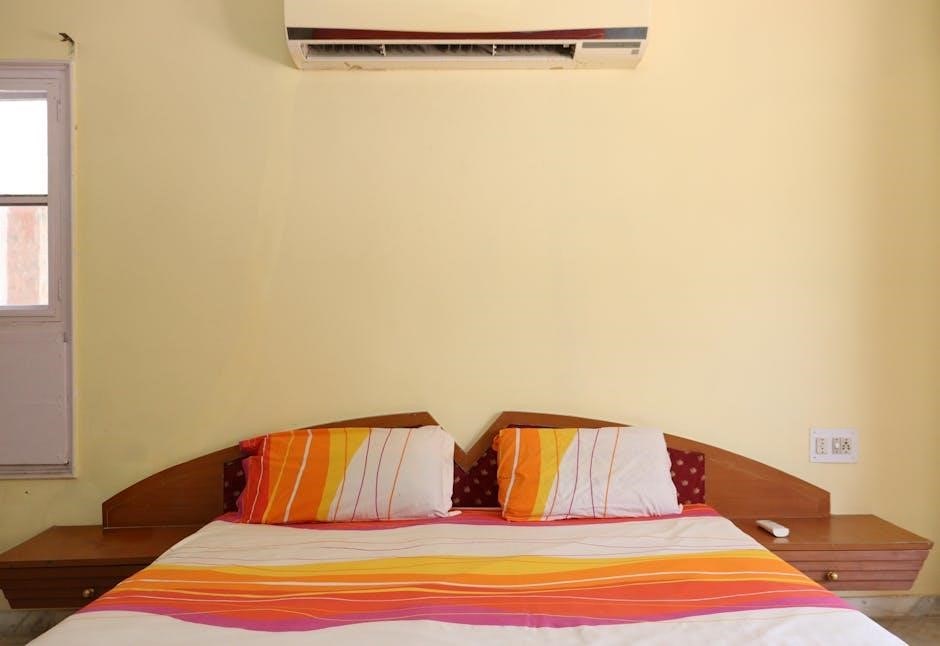
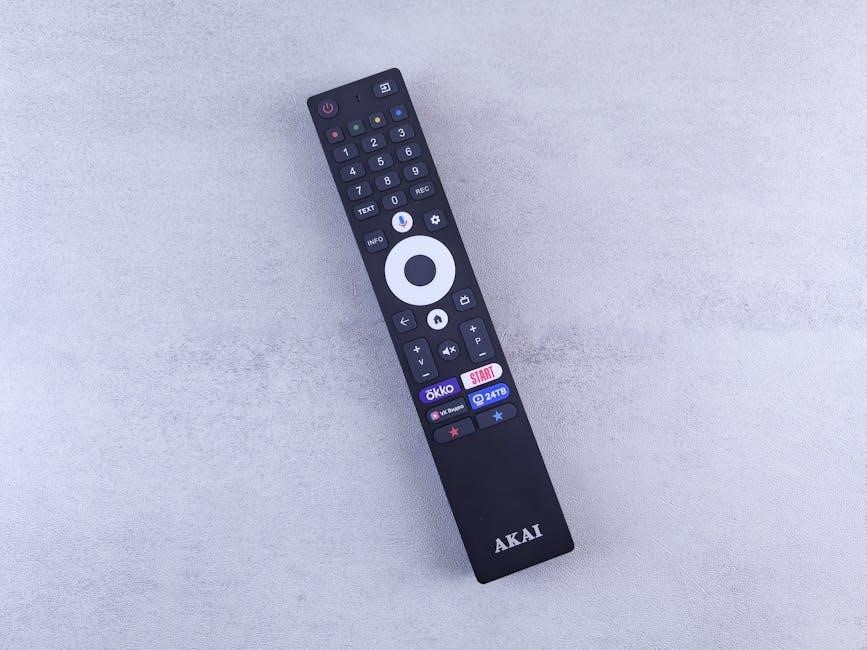
Your Sharp AC remote is the central hub for controlling your air conditioning system, offering a convenient way to adjust settings without directly accessing the unit. Familiarizing yourself with its layout and functions is crucial for optimal use. The remote typically features buttons for power, mode selection (cooling, heating, auto, dry), temperature adjustment, fan speed control, and specialized features like swing and timer settings.
The user manual is an invaluable resource, detailing each button’s purpose and providing insights into advanced operations. Different Sharp AC models may have slightly varying remote designs, but the core functionalities remain consistent. Understanding these basics empowers you to efficiently manage your indoor climate and maximize energy savings.
Remote Control Models & Compatibility
Sharp manufactures a range of remote control models designed for its air conditioning units, with the RG66A1IBGEF being a commonly used example. Compatibility isn’t always universal; a remote designed for one Sharp AC model may not function with another. Checking the model number on your existing remote or AC unit is vital when seeking a replacement.
Some Sharp ACs are also compatible with universal remotes, but proper programming is essential. The installation manual clarifies compatibility details. Furthermore, certain portable AC units require specific pairing procedures, as outlined in their respective user guides. Ensuring the correct remote is used guarantees full access to all features and functions.
Basic Remote Control Functions
Sharp AC remotes primarily control power, mode selection, temperature, and fan speed. These core functions provide immediate climate control and user comfort.
Power & Mode Selection
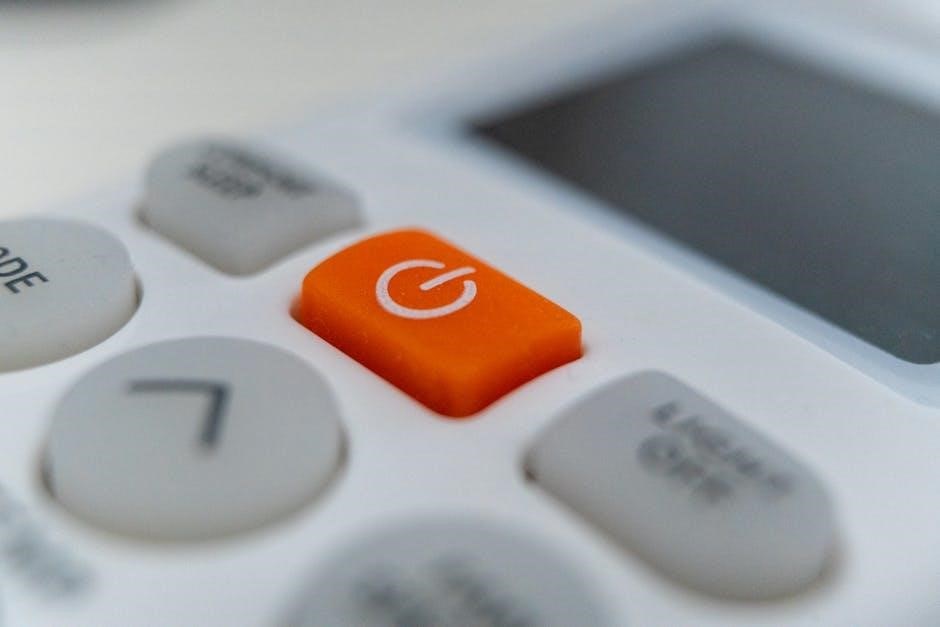
The power button on your Sharp AC remote initiates or terminates operation. Mode selection is crucial for optimizing comfort and energy efficiency. Common modes include Auto, Cool, Dry, Heat (if equipped), and Fan. Auto mode intelligently adjusts settings based on room temperature. Cool mode provides direct cooling, while Dry mode reduces humidity.
Heat mode warms the air, and Fan mode simply circulates air without temperature adjustment. Selecting the appropriate mode ensures your air conditioner operates effectively for your specific needs. Some remotes feature an “Economy” mode, further enhancing energy savings. Familiarize yourself with each mode’s function for optimal performance and comfort throughout the year.
Temperature Control
Sharp AC remotes utilize up and down arrow buttons to adjust the desired room temperature. The displayed temperature represents the target setting, not necessarily the current room temperature. Typically, temperatures are adjustable within a range of 16°C to 30°C (61°F to 86°F), though this can vary by model.
Precise temperature control is key to comfort and energy conservation. Lowering the temperature reduces energy consumption, while raising it minimizes strain on the unit. Some remotes offer a “Quick Cool” or “Turbo” mode for rapid temperature reduction. Remember to allow sufficient time for the AC to reach the set temperature for consistent comfort.
Fan Speed Adjustment
Sharp AC remotes feature dedicated buttons to control the fan speed, typically offering options like Auto, Low, Medium, High, and sometimes a dedicated “Quiet” or “Sleep” mode. The ‘Auto’ setting automatically adjusts fan speed based on the temperature difference between the setpoint and the room temperature.
Lower fan speeds conserve energy and reduce noise, ideal for nighttime use. Higher speeds provide faster cooling and better air circulation. Experimenting with different fan speeds allows you to find the optimal balance between comfort and energy efficiency. Some models may also include a ‘Jet Cool’ function for maximum airflow.
Advanced Features & Operation
Sharp AC remotes unlock features like swing control, timers, and energy-saving modes, providing customized comfort and efficient operation for optimal cooling experiences.
Swing & Coanda Airflow Control
Sharp AC remotes utilize both swing and Coanda airflow technologies to distribute cool air effectively. The swing function adjusts the louvers, oscillating airflow horizontally. Coanda airflow directs air upwards, utilizing the ceiling for broader distribution, ideal for cooling spaces efficiently.
Interestingly, these features often control the same flap. Selecting “Swing” toggles the oscillation, while “Coanda” rotates the flap upwards. A clear start code (0b000 or 0x08) is default. It’s crucial to clear the swing command immediately after sending it (0b111 or 0x0F) to prevent unintended toggling with other functions. Coanda (0b110 or 0x0E) sends airflow across the ceiling, enhancing cooling performance.

Understanding Swing Functionality
The swing functionality on your Sharp AC remote controls the horizontal movement of the air vent louvers. This oscillation distributes cool air across a wider area, preventing concentrated cold spots and ensuring more even temperature distribution throughout the room. Typically, pressing the “Swing” button initiates automatic oscillation, and subsequent presses may allow you to adjust the oscillation angle or set a preferred position.
It’s important to note that the swing function often operates with a default “clear” start code. After initiating a swing command, promptly clearing it prevents unintended toggling when adjusting other settings. Understanding this interaction ensures precise control over your air conditioner’s airflow.
Utilizing the Coanda Airflow Feature
The Coanda airflow feature, accessible via your Sharp AC remote, directs airflow upwards, along the ceiling. This innovative technology leverages the Coanda effect – where a fluid stream adheres to a nearby surface – to gently circulate air throughout the room, avoiding direct drafts. Activating Coanda is ideal for cooling without creating uncomfortable, concentrated airflow.
On the RG66A1IBGEF remote, toggling Coanda airflow utilizes a specific code (0b110 or 0x0E). This rotates the swing flap, optimizing cooling efficiency. Remember to clear the command immediately after activation to prevent unintended toggling with other remote functions, ensuring consistent and desired airflow patterns.
Timer & Scheduling Options
Sharp AC remotes provide convenient timer and scheduling features for automated operation. Setting a timer allows you to program the air conditioner to turn on or off automatically after a specified duration, conserving energy and ensuring comfort. This is perfect for pre-cooling a room before you arrive or automatically turning off the AC while you sleep.
More advanced models support daily or weekly schedules, enabling you to customize operation based on your routine. This allows for precise control over cooling, optimizing energy usage and maintaining a comfortable environment throughout the week. Explore your remote’s menu to discover these powerful scheduling capabilities.
Setting a Timer for Automatic Operation
Utilizing the timer function on your Sharp AC remote is straightforward. Typically, you’ll find a “Timer” button, often requiring you to first set the desired on/off time. Pressing the timer button initiates the setting process, usually displayed on the AC unit itself. You can then adjust the hours and minutes using the remote’s directional buttons.
Confirm your settings, and the AC will automatically operate according to your programmed schedule. This feature is ideal for energy conservation, ensuring the unit isn’t running unnecessarily. Remember to check the user manual for specific instructions related to your remote model, as button layouts and procedures can vary slightly.
Programming Daily/Weekly Schedules
Some Sharp AC remotes allow for more complex scheduling beyond simple timers. These models enable you to program different settings for each day of the week, or even multiple settings per day. Accessing this feature usually involves navigating a “Schedule” or “Program” menu on the remote. You’ll then define specific on/off times and desired temperatures for each scheduled period.
This advanced functionality provides ultimate control over your AC’s operation, optimizing comfort and energy savings. Consult your remote’s user manual for detailed instructions, as the programming process can be intricate. Properly configured schedules ensure consistent comfort without manual adjustments.
Energy Saving Modes
Sharp air conditioners often include energy-saving modes designed to reduce power consumption while maintaining comfortable temperatures. These modes typically adjust fan speeds and compressor operation to optimize efficiency. Common options include “Eco Mode” or “Energy Saver,” which automatically regulate cooling based on room conditions.
Utilizing these modes can significantly lower your electricity bills, especially during moderate weather. Some models also feature “Night Mode,” which gradually increases the temperature during sleep to further conserve energy. Refer to your remote’s manual to understand the specific energy-saving features available on your Sharp AC unit and how to activate them effectively.
Troubleshooting Common Issues
Addressing issues like a non-responsive remote, AC failing to power on, or incorrect temperature displays ensures optimal performance of your Sharp AC system.
Remote Not Responding
If your Sharp AC remote isn’t responding, begin with the simplest solutions. First, ensure fresh batteries are correctly installed, verifying polarity. Weak batteries are a frequent cause. Next, confirm there’s a clear line of sight between the remote and the air conditioner’s receiver – obstructions can interfere with the signal.
Try resetting the remote by removing and reinserting the batteries. If the issue persists, inspect the remote’s infrared (IR) emitter for damage. A malfunctioning emitter prevents signal transmission. Also, ensure you are pointing the remote directly at the AC unit’s sensor. Finally, consider potential interference from strong light sources, which can sometimes disrupt IR signals. If none of these steps resolve the problem, the remote itself may require replacement.
AC Not Turning On
When your Sharp AC unit fails to power on, several factors could be at play. Initially, verify the unit is properly plugged into a functioning power outlet. Check the circuit breaker or fuse box to ensure the circuit hasn’t tripped or blown. If power is confirmed, attempt to turn on the AC directly from the unit itself, bypassing the remote, to isolate the issue.
If the unit still doesn’t respond, examine the power cord for any visible damage. A damaged cord requires replacement. Also, some Sharp ACs have a reset button; consult your user manual for its location and procedure; If these steps don’t work, a more serious internal fault may exist, necessitating professional repair.
Incorrect Temperature Display
An inaccurate temperature reading on your Sharp AC remote can stem from several causes. First, ensure the remote’s temperature unit (Celsius or Fahrenheit) matches your preference. A simple mode switch often resolves this. If the display consistently deviates from the actual room temperature, a sensor issue might be present within the AC unit itself.
Try resetting the AC unit by briefly disconnecting its power supply. This can recalibrate the internal sensors. Avoid placing the AC unit near direct sunlight or heat sources, as these can interfere with accurate temperature detection. If the problem persists, consult the user manual or contact Sharp support for further assistance, as it could indicate a faulty temperature sensor.
Remote Control Specific Models
Sharp offers various remote models, each tailored to specific AC units. This section details functionalities and code specifics for popular remotes like the RG66A1IBGEF.
RG66A1IBGEF Remote Guide
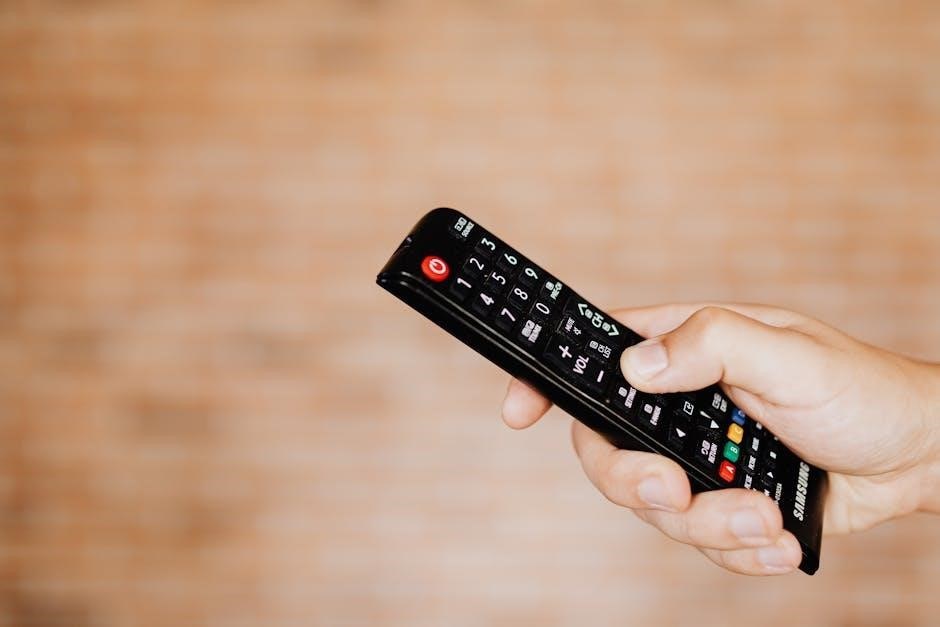
The Sharp RG66A1IBGEF remote is a commonly used controller for many Sharp air conditioning units. This guide focuses on maximizing its functionality. Understanding each button’s purpose is key to efficient operation. The remote allows for precise temperature adjustments, fan speed control, and mode selection – cooling, heating, auto, and dry.
Notably, the swing and Coanda airflow features are controlled by the same flap mechanism. The remote utilizes specific codes: 0b000 (0x08) for the default clear state, 0b111 (0x0F) to toggle swing, and 0b110 (0x0E) to activate Coanda airflow, directing air upwards. Remember to clear the swing command immediately after use to prevent unintended toggling.
RG66A1IBGEF Button Functions
The RG66A1IBGEF remote features intuitive buttons for seamless control. The Power button initiates operation, while Mode allows cycling through cooling, heating, auto, and dry settings. Temperature Up/Down adjusts the desired room temperature. Fan Speed controls airflow intensity – Auto, Low, Medium, and High. The Swing/Coanda button manages airflow direction, utilizing codes to toggle between states.
The Timer buttons enable setting automatic on/off times. Direct input buttons allow quick selection of preferred temperatures. Understanding these functions unlocks the full potential of your Sharp AC. Proper use ensures optimal comfort and energy efficiency. Refer to the full user manual for detailed explanations of each button’s capabilities.
RG66A1IBGEF Code Details (Swing/Coanda)
For the RG66A1IBGEF remote, Swing and Coanda functions are controlled by specific binary codes. The default start code is 0b000 (0x08). To toggle Swing, use 0b111 (0x0F), but immediately clear this command after sending to prevent unintended repeated toggling. The Coanda airflow feature, directing air upwards, is activated with 0b110 (0x0E).
These codes manipulate the airflow flap, offering customized cooling. Understanding these details is crucial for advanced control or integration with universal remotes. Remember to send commands individually and clear the Swing command promptly for reliable operation. Proper code implementation ensures precise airflow management and enhanced comfort.
Other Sharp Remote Models
Beyond the RG66A1IBGEF, Sharp utilizes various remote control models tailored to different AC unit series and features. While functionality overlaps – power, mode, temperature, fan speed – specific button layouts and advanced options vary. Some models incorporate ‘Wired remote controller’ functionality, like the PAR-32MAA, primarily for installation and professional use.
Consult your AC unit’s installation manual to identify the correct remote model. Compatibility is crucial; using an incorrect remote may limit functionality or prevent operation altogether. Sharp continually updates remote designs, so referencing the user manual ensures optimal control and access to all available features for your specific air conditioning system.

Battery Management & Replacement
Sharp remotes typically use AAA batteries. Proper installation and timely replacement are essential for consistent performance and avoiding operational issues with your AC unit.
Battery Type & Installation
Your Sharp AC remote control generally requires two AAA-sized alkaline batteries for optimal performance. Before installing, ensure the battery polarity is correct, matching the positive (+) and negative (-) markings inside the battery compartment. Incorrect polarity can damage the remote and void any warranty.
To access the battery compartment, typically located on the back of the remote, gently slide or lift the compartment cover. Insert the new batteries, aligning the poles as indicated. Once the batteries are securely in place, replace the compartment cover, ensuring it clicks shut.
Avoid mixing old and new batteries, or different types of batteries, as this can reduce performance and potentially cause leakage. Always remove batteries if the remote will not be used for an extended period to prevent corrosion.
Extending Battery Life
To maximize the lifespan of the batteries in your Sharp AC remote, avoid excessive or unnecessary button presses. Regularly dust the remote’s surface, as dirt and grime can interfere with button contact and lead to increased battery drain. When not in use, store the remote in a cool, dry place, away from direct sunlight and extreme temperatures.
Consider using high-quality alkaline batteries, as they generally offer longer-lasting power compared to standard carbon-zinc batteries. If you notice the remote’s response becoming sluggish, replace the batteries promptly, even if they haven’t fully depleted.
Removing the batteries when storing the remote for extended periods prevents potential leakage and corrosion, further extending its overall usability and lifespan.
Pairing the Remote Control
Sharp remotes pair with TVs or portable AC units via on-screen instructions, ensuring seamless control and functionality for optimal user convenience.
Pairing with Sharp TVs
Pairing your Sharp AC remote with a Sharp TV allows for unified control, streamlining your entertainment experience. Begin by ensuring your TV is powered on and in pairing mode – consult your TV’s user manual for specific instructions, as the process can vary between models.
Typically, this involves navigating to the TV’s settings menu and selecting the “Remote Control” or “Bluetooth” option. Once in pairing mode, follow the on-screen prompts. The remote may require a specific button combination to initiate pairing; again, refer to the remote’s documentation.
The TV will scan for available devices. Select your Sharp AC remote from the list of detected devices. The TV may request a pairing code, which is usually “0000” or displayed on the screen. Once paired, the remote should control basic TV functions like power, volume, and channel selection.
Pairing with Portable AC Units
Pairing a Sharp AC remote with a portable AC unit is crucial for convenient operation. Begin by verifying your portable AC unit supports remote pairing – not all models do. Consult the portable AC’s installation manual for specific pairing instructions, as procedures differ.
Generally, this involves pressing and holding a designated “Pairing” or “Reset” button on the AC unit itself. This puts the unit into pairing mode, making it discoverable by the remote. Simultaneously, initiate the pairing process on the remote, often by pressing and holding a specific button combination.
The remote will search for the AC unit. Successful pairing is usually indicated by a confirmation message on the AC unit’s display or a change in indicator light status. Ensure no other devices interfere with the pairing process.

Finding the User Manual
Sharp AC remote user manuals are readily available online, offering detailed specifications, function explanations, and troubleshooting tips for optimal air conditioner control.
Locating the Digital Manual Online
Finding your Sharp AC remote control’s user manual online is remarkably straightforward. A quick internet search using the remote’s model number – such as “RG66A1IBGEF manual” – will typically lead you directly to the official Sharp support website or a reliable third-party archive. These digital manuals are often available in PDF format, allowing for easy download and viewing on various devices like computers, tablets, and smartphones.
Sharp’s official website provides a dedicated support section where you can browse manuals by product category and model. Alternatively, websites specializing in appliance manuals, like I MANUAL, frequently host comprehensive guides for Sharp air conditioners and their corresponding remotes. Ensure you select the manual specifically for your remote model to guarantee accurate instructions and feature explanations. Having the digital manual readily accessible simplifies troubleshooting and maximizes your AC’s functionality.
Importance of the Installation Manual
The installation manual, often accompanying your Sharp air conditioner, is crucial beyond simply setting up the unit. It details essential safety precautions, proper ventilation requirements, and electrical considerations for optimal performance and longevity. While focused on installation, it frequently contains valuable information regarding remote control pairing procedures, especially for portable AC units, guiding you through on-screen prompts for seamless connectivity.
Furthermore, the manual clarifies distinctions between different remote controller types, such as the wired PAR-32MAA, and provides specific operational guidance. It emphasizes keeping the manual accessible for future reference, aiding in troubleshooting and understanding advanced features. Ignoring the installation manual can lead to inefficient operation, potential damage, or even voiding the warranty. Prioritize reading it thoroughly before and during setup.